How I used Gitpod to make an Open Source Contribution in Appwrite
That’s right. I made an awesome open source contribution in the appwrite repository using Gitpod. So yes, we are gonna talk about this journey — which type of contribution I did and how Gitpod played an important role here. To be honest this contribution couldn’t be possible without Gitpod in my case here.
But What’s Gitpod?
Let’s look at the definition on their website:
Gitpod is an open-source Kubernetes application for ready-to-code developer environments that spins up fresh, automated dev environments for each task, in the cloud, in seconds. It enables you to describe your dev environment as code and start instant, remote and cloud-based developer environments directly from your browser or your Desktop IDE.
Tightly integrated with GitLab, GitHub, and Bitbucket, Gitpod automatically and continuously prebuilds dev environments for all your branches. As a result, team members can instantly start coding with fresh, ephemeral and fully-compiled dev environments — no matter if you are building a new feature, want to fix a bug or do a code review.
Now Let’s Understand in laymen’s terms
You may have heard these famous lines



Well, Gitpod solves this as one of the problems. Ever needed to work on something and just wanted to set up your development environment straight by forking your repository, Gitpod comes to the rescue. It spins up fresh container for you with all the dependencies installed and it feels like you are working just on your own machine.
To sum up everything
Gitpod = server-side-dev-envs + dev-env-as-code + prebuilds + IDE + collaboration.
To know more about Gitpod
 Gitpod: Always ready to code.Spin up fresh, automated dev environments for each task, in the cloud, in seconds. Open a workspace. Start from any Git…www.gitpod.io
If you want to learn and deep dive into Gitpod, here’s an awesome 12hr video by freecodecamp .
Gitpod ❤️ Open Source
All the source code is publicly available in the GitHub Repository. You can even self-host it in your own infrastructure. But we won’t cover that here, though you are welcome to skim through their docs

 Gitpod Self-Hosted installation guideGitpod can be deployed and operated on your own infrastructure. It supports different cloud providers, self-managed…www.gitpod.io
Now Let’s talk about Appwrite
I have written a quite a few blogs about appwrite but lemme explain it again for my new readers :
I am sorry Eldad (someone had to do it xD)
Appwrite is a self-hosted backend-as-a-service platform that provides developers with all the core APIs required to build any application.
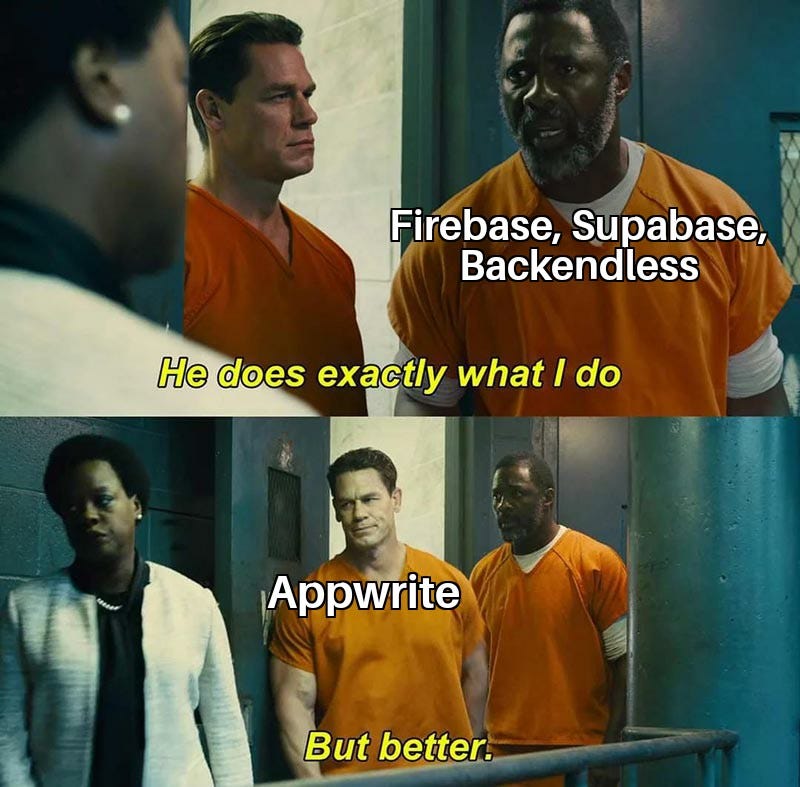
Let’s understand this in the form of a Meme (I even couldn’t better explain it than this lol)
And, Appwrite ❤️ Open Source too
To know more about appwrite
Let’s talk about Contributing
To contribute to appwrite(or in fact in any repository), the first and foremost thing I always recommend is to go through their readme docs. Most of the well-maintained maximum activity repos do have a well-maintained readme with proper info about their project, how to install and use it, and some communication channels to have a talk about it.
In the end, you may find a section about Contributing guide which in fact leads to another contributing.md docs.
NOTE: Before Contributing to any project whether it’s appwrite or any open source project, I would highly recommend installing their project first and using it on your local machine just to get an overview of how it functions.
Now most of the contributing.md docs contain info about how you can actually contribute. It also contains information about the architecture, tech stacks used, principles, topics, tools, libraries, installation guide, and many more. It also specifies which particular part you can actually contribute to.
Remember: Open source is not actually about code contribution, it’s more about collaboration — how active you are in their communication channels, how much familiar you are with their project, and how well you are giving those feedback. It’s also about how active you are on their discussion page, any typo or any documentation changes you think it would need, any bugs or any security issues you find, That’s what would actually define you as a great contributor. Also writing articles, blogs, making tutorials, and helping someone in the community also makes you a good Open source contributor too
My Contribution at appwrite
I have been a part of appwrite community for the past 10 months and it’s been amazing since then. During these 10 months, I worked on my personal project using appwrite, I made PRs related to improving docs, wrote some example code on using Cloud functions, wrote a blog explaining the use appwrite in my project, participated in Hacktoberfest, gave some feedback on what I liked about it the most and what’s the feature I needed most, been active in the community and started solving some queries after I had some sufficient knowledge to tackle that issue — the appwrite did really improved a lot and brought out some couple new features that we all anticipated.
I recently contributed to adding support for Dailymotion OAuth provider for appwrite. The next part would be about the journey of working on that feature.
Read this fun fact before moving to the next part
So Adding an OAuth Provider?
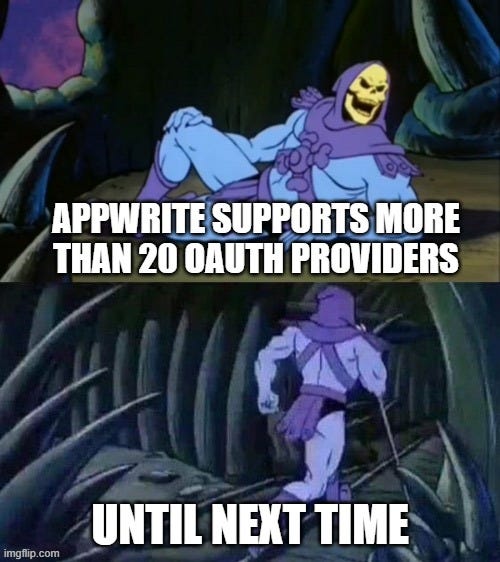
Well, I just didn’t wake up and decided to add the Dailymotion provider. I was thinking of making a code contribution for a long time. Then I decided to work on adding an OAuth provider. Since it already supports more than 20 OAuth providers, it’s a challenge to find something that’s not implemented and is quite popular.
One of the most important things while adding support for OAuth providers is that it must expose the user’s email address after authentication. This is because it’s required by the Appwrite console to identify the user.
I chose to work on adding support for the Soundcloud OAuth provider first. I discussed with the appwrite maintainers to work on this feature. Later I found that their APIs does not expose email address after authentication which was needed.
Then I referred to this list which supports OAuth 2 providers
List of OAuth providers - WikipediaEdit descriptionen.wikipedia.org
On doing a bit more research, I found that Dailymotion has support for OAuth provider and it does expose its user email after authentication. I discussed this with the maintainer (Matej Bačo) in the appwrite discord server and he gave me a green light to work on it 🎉.
Now What?
Do you know appwrite provides a guide on how to add support for an OAuth provider?
Now to add support for the Dailymotion OAuth provider in appwrite, you need to write the code in PHP language. Don’t worry if you don’t know PHP. If you have some experience in other programming languages then writing in PHP would be no more difficult. In my case, I didn’t know PHP but was still able to write code without any difficulties.
Now Let’s talk about why I used Gitpod here
To run the project, I forked and followed all the necessary guides to set up the development environment in my system. For code autocompletion, I wrote this docker command:

Now, after running this command, I had some errors which I ignored though.
To run the master branch, I executed this command:
docker compose up -dNow for some unknown git reasons, it could not fetch some files, thus this command never succeeded in my local machine. I googled a lot but quite couldn’t figure out what’s happening and how to fix that.
If I would have started working on this issue a year ago — I would have definitely quit trying, cause I would be too overwhelmed by making such contributions.
But now these days, I don’t get overwhelmed working on something out of my expertise. Why? Cause this became my new comfort zone.
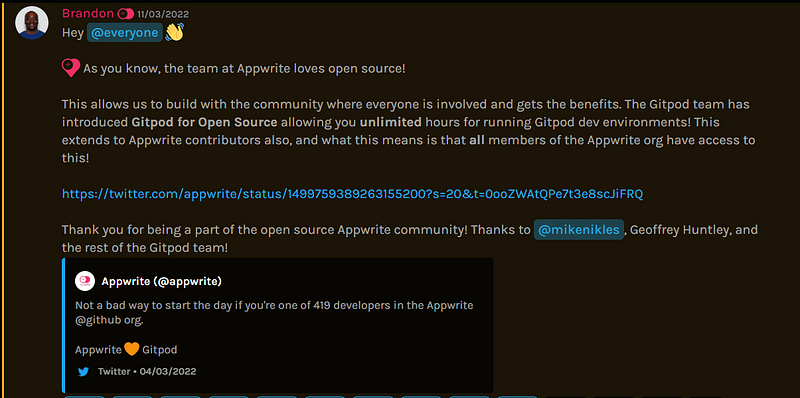
Now if I can’t run on my machine, how would I debug my code then? That’s where Gitpod came to the rescue. Now being a member of appwrite/contributors, every member (that includes me too) gets unlimited hours for running Gitpod dev environments. Not just appwrite if you are part of any open source organization (with some conditions ofc) and have a badge at either GitHub or GitLab then you would also have this benefit too.
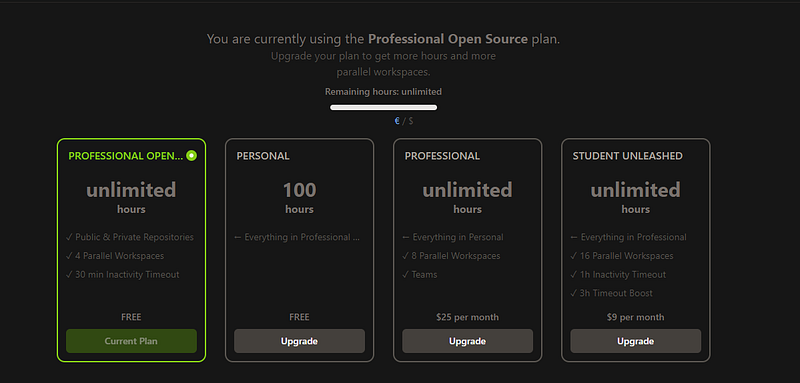
Now let’s talk about running the project in Gitpod. I would recommend downloading and installing this extension. This link contains for both Firefox and chromium-based browsers.
 Browser ExtensionCreating a workspace is as easy as prefixing any GitHub URL with gitpod.io/#. For convenience, we developed a Gitpod…www.gitpod.io
This extension gives you a button to open in Gitpod in the repository
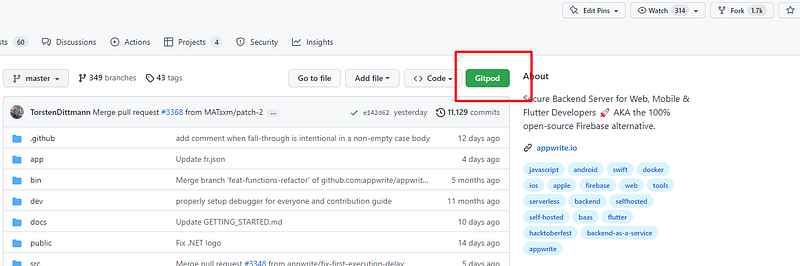
And click to open in Gitpod, This should give something like this now
Now this should give you an option to Open in VS Code
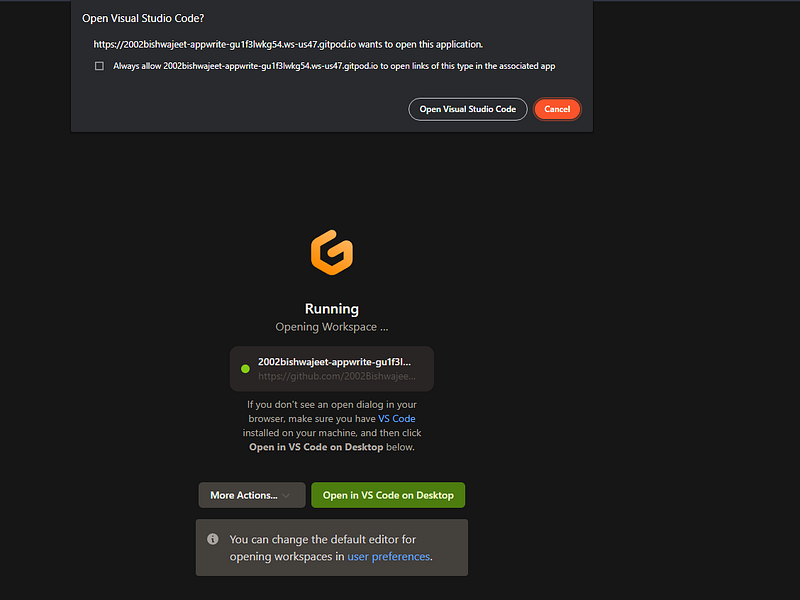
What I do is open VS Code in Browser as well as in Desktop. I need them later.
That’s it everything has been set up just normally as you would be set up in my machine ✨
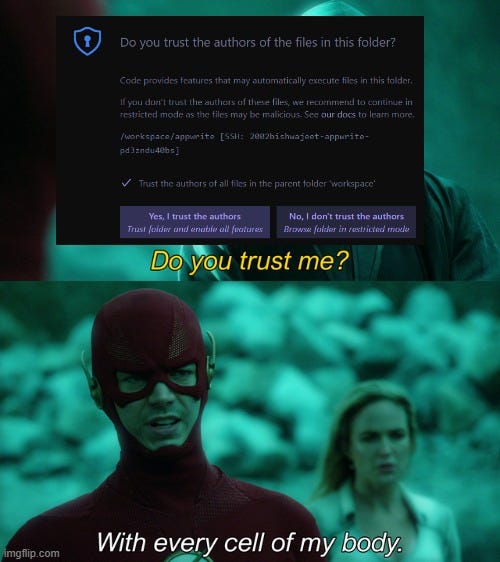
Now Let’s start working on adding Dailymotion Provider
The first step was to go through their docs and look for OAuth Category
I skimmed through the docs to get a brief overview of what was provided and what needed to be done.
The next thing I did was read the contribution.md guide. The first thing needed was to add dailymotion to the existing lists of providers.
Add this in app/config/providers.php
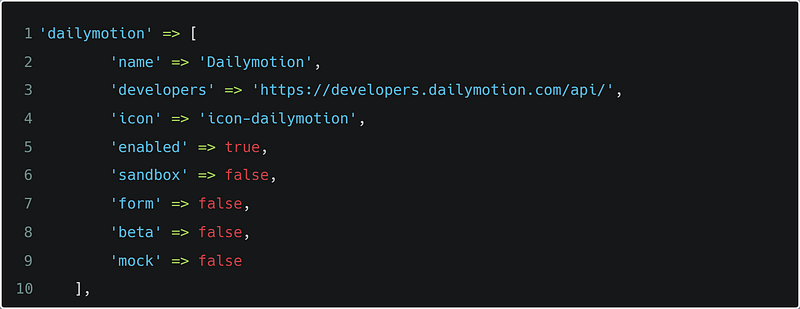
I needed to make sure, I was adding them in alphabetical order as mentioned in the guide. For icon, I just googled Dailymotion icon, found an .ai (Adobe Illustrator) file, exported 100x100 png file and uploaded in public/images/users . The file name should be saved as the name of the provider in all lowercase. You only need to add icon prefix in the code only. It was something like this.

dailymotion.png
The next thing was to add the provider class. I created a new file Dailymotion.php in src/Appwrite/Auth/OAuth2/ . All the file names here should be Pascal case. I copied the boilerplate code and pasted into my file.

Now it was time to complete all the Todos and replace them with the actual values in all the variables.
The following gist would show my complete function. I would try my best to explain each and every piece of stuff here.
<?php

namespace Appwrite\Auth\OAuth2;

use Appwrite\Auth\OAuth2;

// Reference Material
// https://developers.dailymotion.com/api/#authentication

// Class Name Dailymotion (Pascal Case)
// I would recommend reading the OAuth2 class for getting more clarification
class Dailymotion extends OAuth2
{
    /**
     * @var string
     */
    // This first endpoint is required for the rest of the functions
    // This includes getting token, getting user info, etc.
    private string $endpoint = 'https://api.dailymotion.com';

    /**
     * @var string
     */
    // This second endpoint is for getting the loginUrl
    private string $authEndpoint = 'https://www.dailymotion.com/oauth/authorize';

    /**
     * @var array
     */
    // This is the scopes that we need to get access to
    // Since appwrite requires `email` scope, we add it here
    // Also we need the `userinfo` too
    protected array $scopes = [
        'userinfo',
        'email'
    ];

    /**
     * @var array
     */
    // This is the fields that we need to get from the user
    // We will be feeding this directly inside the URL
    // It's not necessary that every Providers requires fields.
    // This providers needs it and failure to provide it will result
    // in getting fewer details than needed.
    // NOTE: This is a self defined variable
    protected array $fields = [
        'email',
        'id',
        'fullname',
        'verified'
    ];

    /**
     * @var array
     */
    protected array $user = [];

    /**
     * @var array
     */
    protected array $tokens = [];

    /**
     * @return string
     */
    public function getName(): string
    {
        return 'dailymotion';
    }

    /**
     * @return array
     */
    // Self defined function which returns fields
    public function getFields(): array
    {
        return $this->fields;
    }

    /**
     * @return string
     */
    public function getLoginURL(): string
    {
        // Now to get the LoginUrl for the dailymotion provider
        // I followed from this guide
        // https://developers.dailymotion.com/api/#oauth-client-web-application
        // If you read the point number 2, you will understand what I mean
        // Also  I needed to pass the callback URL to the function
        // which I have  $this->callback,
        // Thus my login URL is:
        $url = $this->authEndpoint . '?' .
            \http_build_query([
                'response_type' => 'code',
                'client_id' => $this->appID,
                'state' => \json_encode($this->state),
                'redirect_uri' => $this->callback,
                'scope' => \implode(' ', $this->getScopes())
            ]);

        return $url;
    }

    /**
     * @param string $code
     *
     * @return array
     */
    protected function getTokens(string $code): array
    {
        // Once I have been given the code, I need to get the tokens
        // For this I need to make a post request to the first endpoint I defined
        // https://developers.dailymotion.com/api/#oauth-client-web-application
        // If you read the point number 3 here, it tells in which URL you need to make a request
        // And what's the response you get back
        if (empty($this->tokens)) {
            $this->tokens = \json_decode($this->request(
                'POST',
                $this->endpoint . '/oauth/token',
                ["Content-Type: application/x-www-form-urlencoded"],
                \http_build_query([
                    'grant_type' => 'authorization_code',
                    "client_id" => $this->appID,
                    "client_secret" => $this->appSecret,
                    "redirect_uri" => $this->callback,
                    'code' => $code,
                    'scope' => \implode(' ', $this->getScopes()),
                ])
            ), true);
        }
        return $this->tokens;
    }


    /**
     * @param string $refreshToken
     *
     * @return array
     */
    public function refreshTokens(string $refreshToken): array
    {
        // This is the same as the getTokens function
        // But every token has a expire time
        // And they need to be refreshed everytime they expire
        // So as to persist the authorization
        // I took help from this guide
        // https://developers.dailymotion.com/api/#using-refresh-tokens
        $this->tokens = \json_decode($this->request(
            'POST',
            $this->endpoint . '/oauth/token',
            ['Content-Type: application/x-www-form-urlencoded'],
            \http_build_query([
                'grant_type' => 'refresh_token',
                'refresh_token' => $refreshToken,
                'client_id' => $this->appID,
                'client_secret' => $this->appSecret,
            ])
        ), true);

        if (empty($this->tokens['refresh_token'])) {
            $this->tokens['refresh_token'] = $refreshToken;
        }


        return $this->tokens;
    }

    /**
     * @param string $accessToken
     *
     * @return string
     */
    public function getUserID(string $accessToken): string
    {
        $user = $this->getUser($accessToken);

        $userId = $user['id'] ?? '';

        return $userId;
    }

    /**
     * @param string $accessToken
     *
     * @return string
     */
    public function getUserEmail(string $accessToken): string
    {
        $user = $this->getUser($accessToken);
        $userEmail = $user['email'] ?? '';

        return $userEmail;
    }

    /**
     * Check if the OAuth email is verified
     *
     * @link https://developers.dailymotion.com/api/#user-fields
     *
     * @param string $accessToken
     *
     * @return bool
     */
    public function isEmailVerified(string $accessToken): bool
    {
        $user = $this->getUser($accessToken);

        return $user['verified'] ?? false;
    }

    /**
     * @param string $accessToken
     *
     * @return string
     */
    public function getUserName(string $accessToken): string
    {
        $user = $this->getUser($accessToken);


        $username = $user['fullname'] ?? '';

        return $username;
    }

    /**
     * @param string $accessToken
     *
     * @return array
     */
    protected function getUser(string $accessToken): array
    {
        // This is an important function
        // This will return the users details
        // As I mentioned above, you need to pass the fields to in order
        // to get the details you need
        // https://developers.dailymotion.com/api/#user
        if (empty($this->user)) {
            $user = $this->request(
                'GET',
                $this->endpoint . '/user/me?fields=' . \implode(',', $this->getFields()),
                ['Authorization: Bearer ' . \urlencode($accessToken)],
            );
            $this->user = \json_decode($user, true);
        }

        return $this->user;
    }
}
Couple of things to talk about more about it.
request() the function is a user-defined function for making the HTTP calls. If you have a PHP debugger installed, you can actually hover over it and see what parameters it requires.
Also, Dailymotion does have an API Testing Playground too. That helped me more in writing this code.
After writing this code, it was now time to test it. In the console, I wrote the following command to boot up appwrite
docker compose up -dThis would start up appwrite. Sign up and create a new Project. Just name it anything you want. I name it test with the same projectId.
Oh yeah, Now this is the time you would need to use VS Code in the browser to access the console. When you type the above commands it opens the dashboard for you.
Go to Users -> Settings
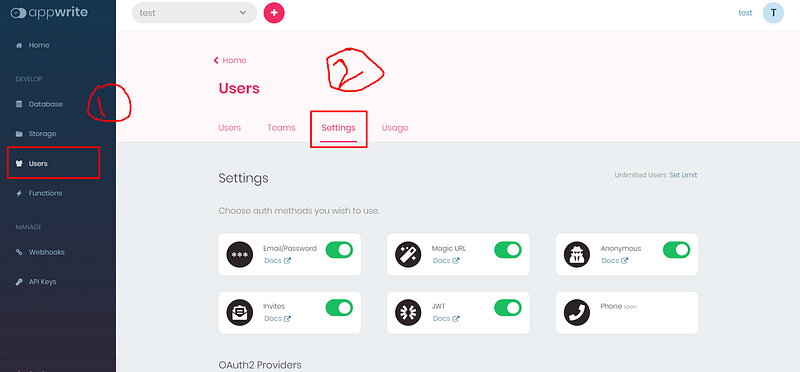
Scroll down and you should see Dailymotion Provider listed.
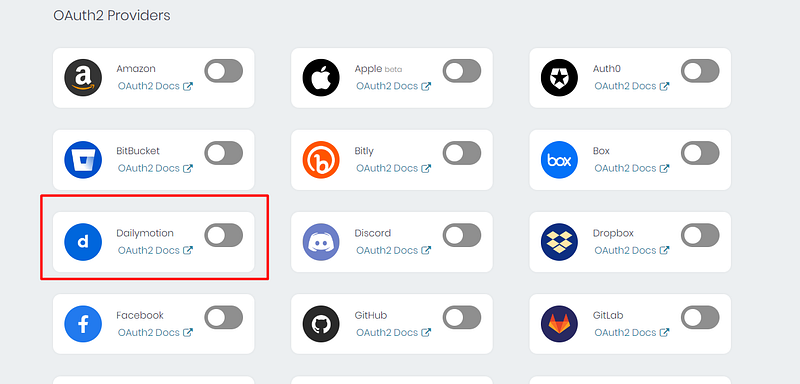
If you didn’t find it (it happened with me), this is what I did
docker compose down // stop the containers
docker compose build // build them again
docker compose up -d // start the containers again
And it started working again.
Now Let’s test it,
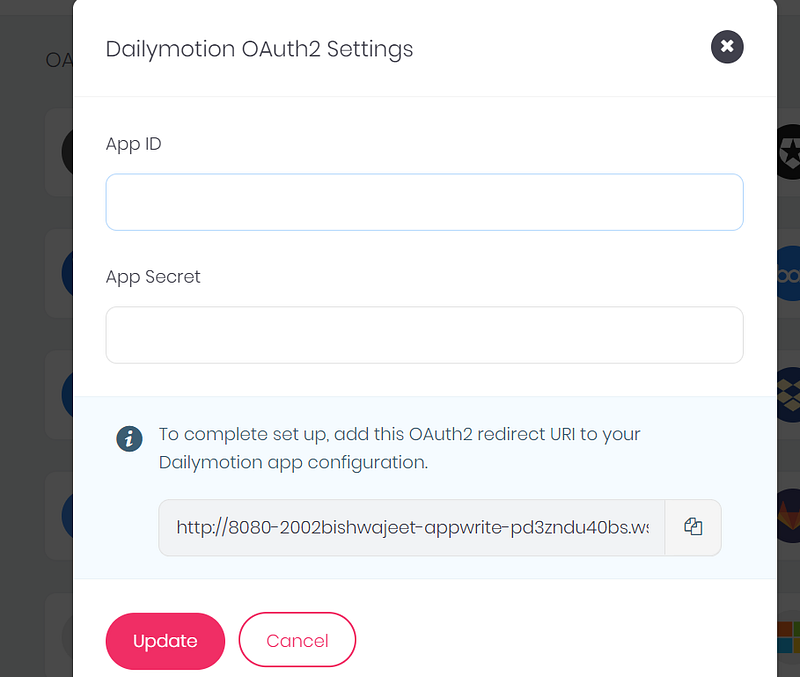
We need App Id and App Secret here now. For this, you need to create a Dailymotion developer account
Refer to this Docs for creating a developer account
After you have been redirected to your partner HQ — go to settings API Keys
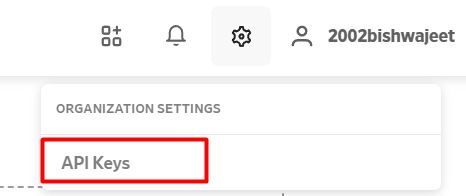
After that create a new API key

Make sure to keep the project name the same as the one you used in Appwrite
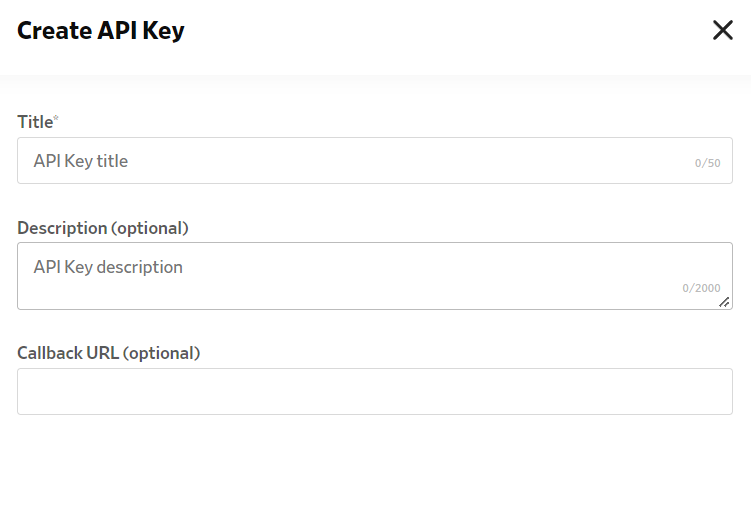
Paste the callback URL here and click create.
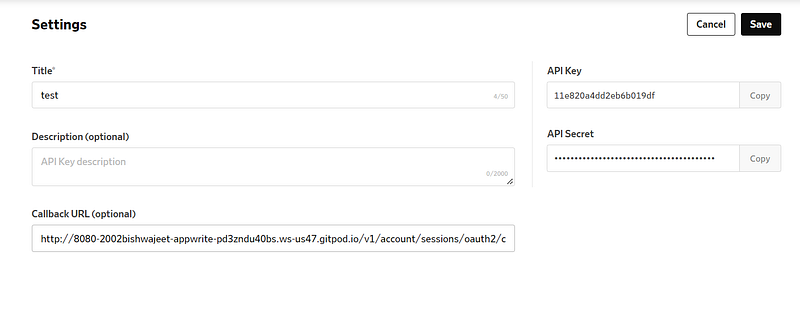
Now you have your API Key and API secret here, paste them in the Dailymotion OAuth 2 settings.
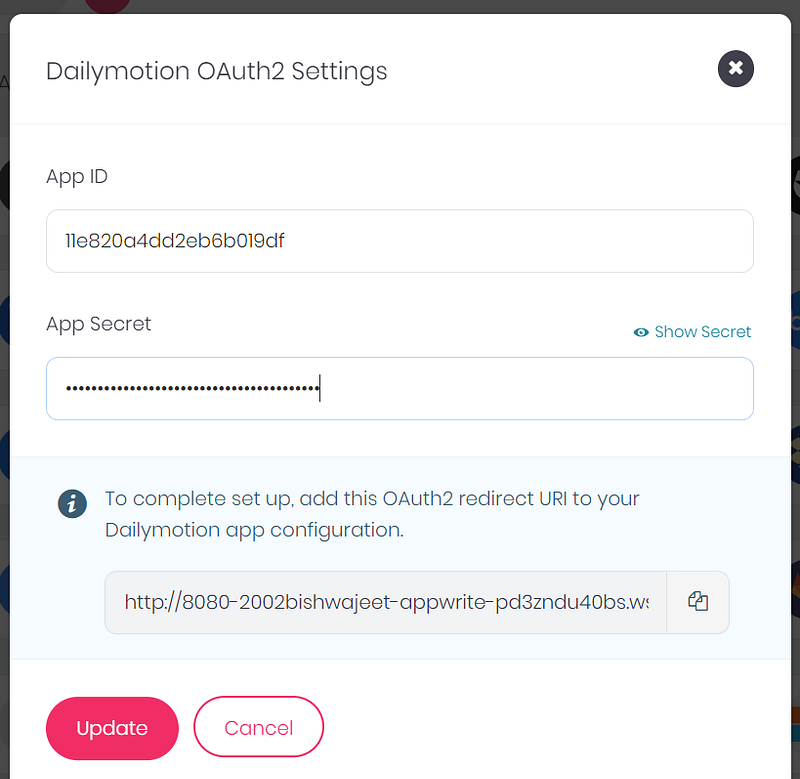
Click Update and Voila, the setup has been done on the server-side. Now All I need is to test it on the Client side.
For testing this, I made a small basic app for testing it. Here’s the repo below.

Well, this was initially a template for Firebase Riverpod Authentication in Flutter, I modified it a bit and add a template for appwrite-authentication too.
The only thing you need to change is in the client.dart file.
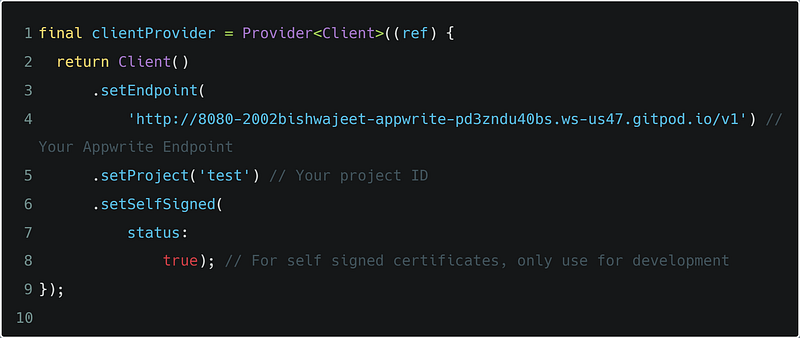
Time to run my app
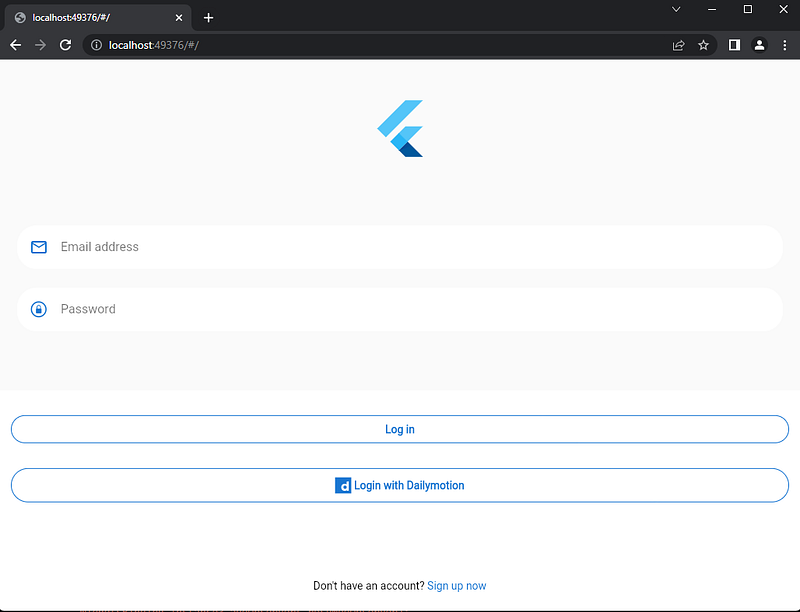
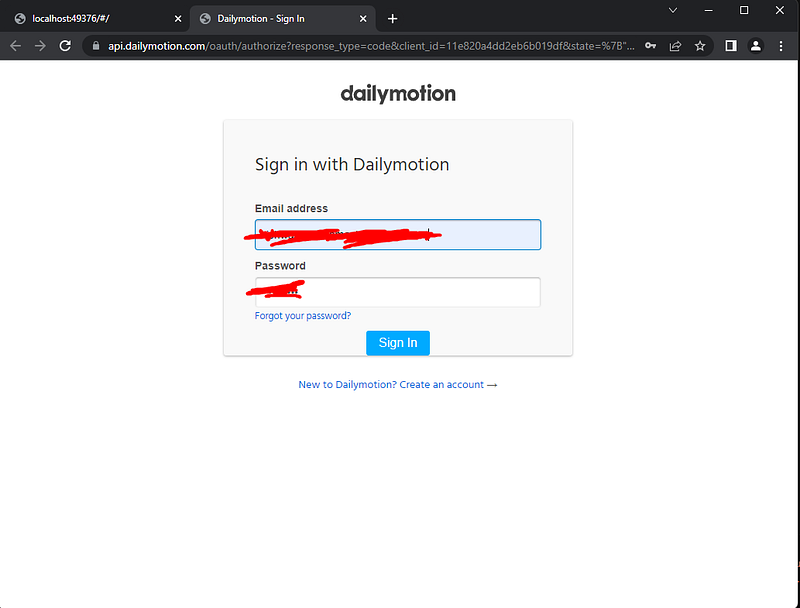
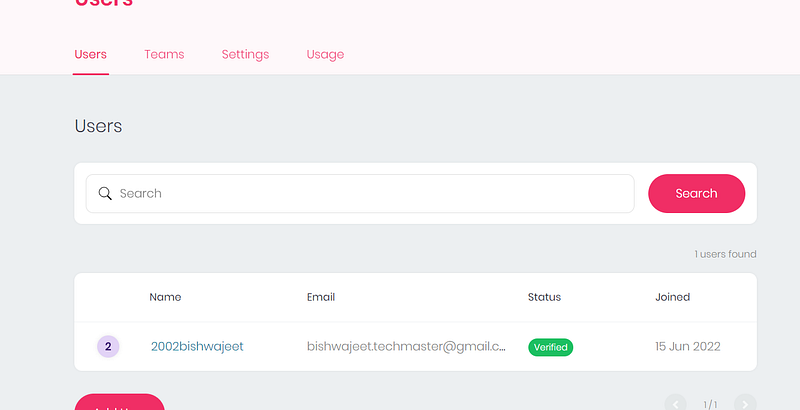
Voila 🥳
It worked as expected. If it didn’t work for some reason, you can always debug it. When it throws an error during something, use this command to get to know what happened.
docker compose logs appwriteIf you aren’t able to figure out what went wrong, you can always ask for help in the appwrite discord server(that’s what I did). When all the bugs are gone, now all is left to create a PR for the same.
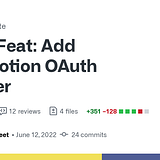
You can have a look at it. You would notice, that I left some comments for the maintainers for the extra variable function I created for easy review. Then I left some screenshots demonstrating that it works perfectly. After reviewing, they suggested some changes, which I quickly worked on them. After 2 days of extensive review and suggestions, My PR got merged ✨🥳.
Thanks a lot for reading till the end. I hope you definitely gained some knowledge and values by reading this.
Recently my GitHub sponsors badge went live. If you like my blogs and want to support me, here’s the link for that

As always you can reach me out on the following handles